Example - Flight Information
6.3 Worked Example — Flight information
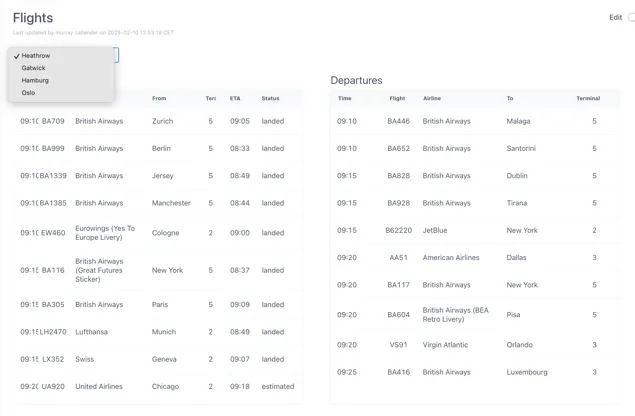
Section titled “6.3 Worked Example — Flight information”The example below is from our demo site:
https://ingenuity.eigen.co/pages/view/flights
Users can select an airport and see the live list of Arrivals and Departures
An “airport” variable is used to pass the selected airport to the FlightRadar24 data source.
6.3.1 Configuring the data source
Section titled “6.3.1 Configuring the data source”Make sure the FlightRadar24 data source is installed and click the “Details” button:
![]()

Scroll to the Preview section at the bottom.
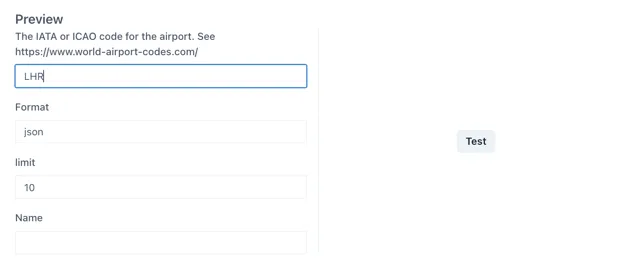
Enter an airport code (e.g. LHR for London Heathrow) and click Test.
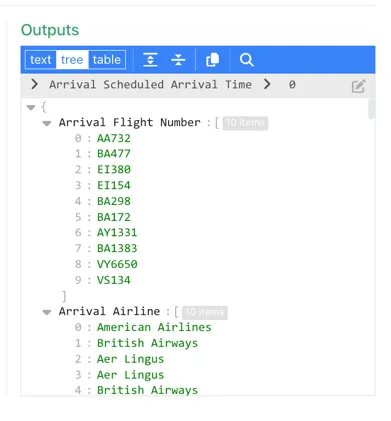
Check through the Outputs to verify that the data source is working.
6.3.2 Configure the “airport” variable
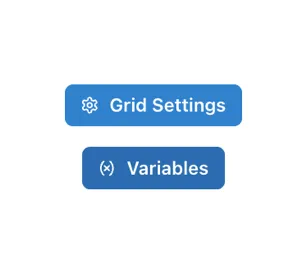
Section titled “6.3.2 Configure the “airport” variable”In Edit mode in your blank dashboard, click anywhere on the grid and then click the “Variables” button from the right-hand panel:
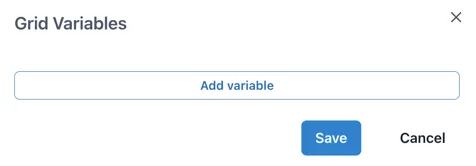
Click “Add variable”
Leave the Type as “Select” (this is the default)
Configure the variable as follows:
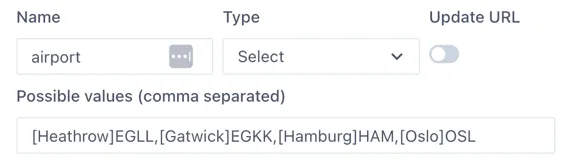
The complete list of airport codes can be found here: https://www.world-airport-codes.com/
6.3.3 Add the select box to the page
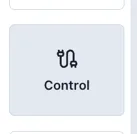
Section titled “6.3.3 Add the select box to the page”Add a “Control” component to the page:
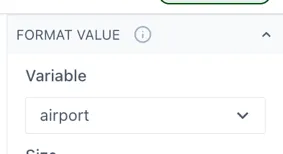
Configure the control to use the “airport” variable under the “Format Value” section.
6.3.4 Configure a table to use the variables
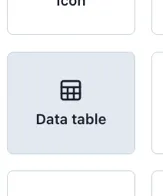
Section titled “6.3.4 Configure a table to use the variables”Add two “Data table” components to the page; one for the Arrivals and one for the Departures.
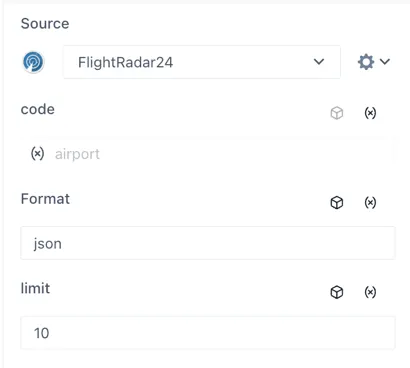
In the Source section of each table, select the FlightRadar24 data source. The input for the “code” will appear. Click the “(x)” icon on the right to connect this input to a page variable and select the airport” variable.
The table Source section should now look like this:
Add the following columns in the tables for the associated outputs from the FlightRadar24 data source [Type in square brackets]:
Arrivals Table
Section titled “Arrivals Table”Time [Date]: Arrival Scheduled Arrival Time
Flight [Text]: Arrival Flight Number
Airline [Text]: Arrival Airline
From [Text]: Arrival From City
Terminal [Text]: Arrival Terminal
ETA [Text]: Arrival ETA
Status [Text]: Arrival Status Word
Departures Table
Section titled “Departures Table”Time [Date]: Departure Scheduled Arrival Time
Flight [Text]: Departure Flight Number
Airline [Text]: Departure Airline
To [Text]: Departure Destination Name
Terminal [Text]: Departure Terminal
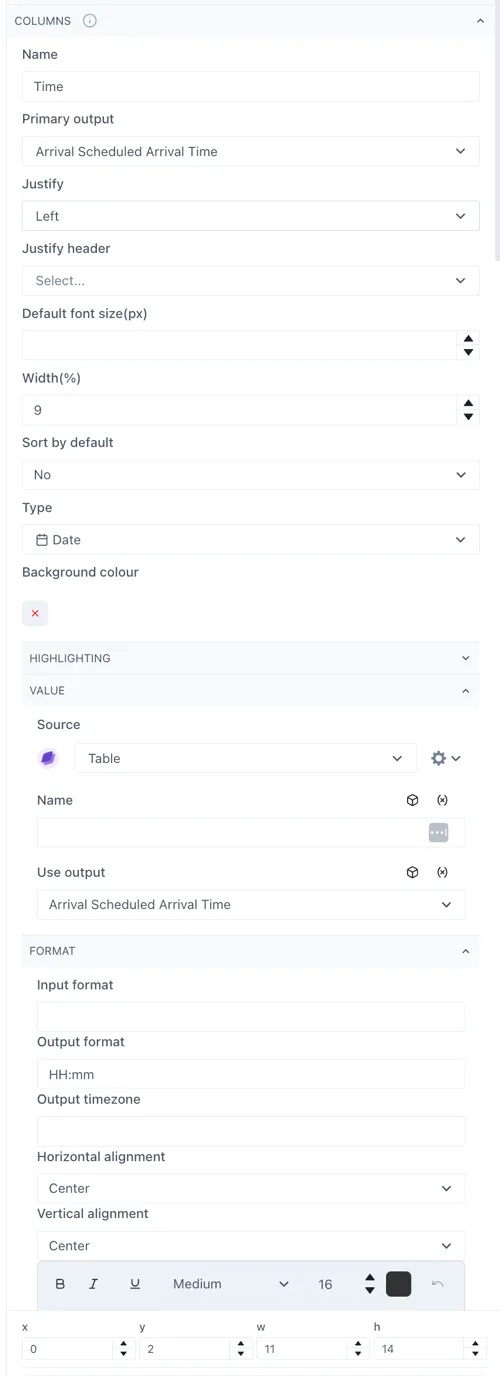
Configuring the Time column
Section titled “Configuring the Time column”To display the time correctly, the Time column in both tables should be set to be a [Date] type. Then under the “Value” section the Source should be set to “Table” and “Use output” = the same as the column field (e.g. Arrival Scheduled Arrival Time)
Under the “Format” section the “Output” format should be “HH:mm”.
See the sections below: Type, Source, Use output and Output format